Working in teams
Teams in Tower enable groups of users to collaboratively develop and run apps. By creating a team, you establish a shared workspace where multiple people can access the same Apps, Secrets, and resources.
When using Teams, responsibilities can be divided as follows:
- One person could be developing and deploying apps, with others just running them when needed, or
- Everyone on the team could be contributing to the creation and maintenance of apps.
Teams provide three key benefits:
- Shared access to apps and their configurations
- Collaborative development with multiple contributors
- Centralized secrets management for secure credential sharing
Creating a team
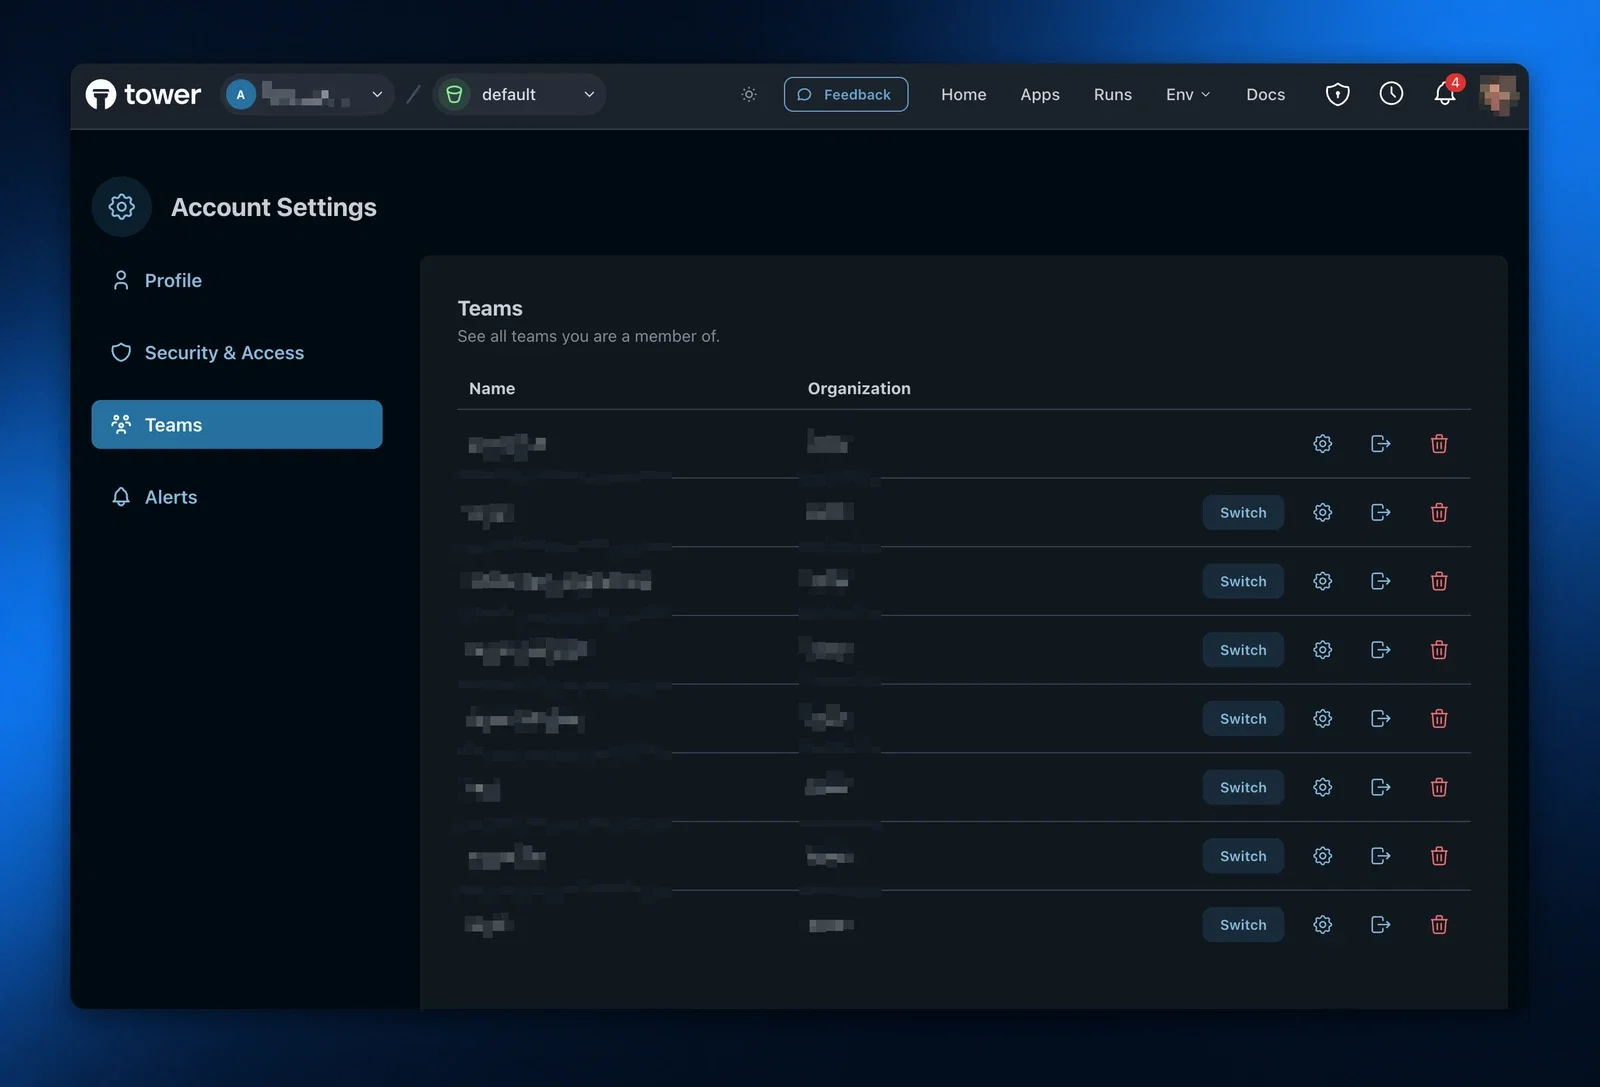
To create a team in the Tower UI, go to Account Settings > Teams and click on "Create new team".
When creating a team, you'll need to provide:
- Team name: A descriptive name for your group
- Team slug: A unique identifier used in URLs for the team's apps (lowercase letters, numbers, and hyphens only)
Inviting teammates
After creating a team, you can invite others (they can be non-users or existing Tower users) to join:
- Select the Settings icon next to your team name
- You'll be redirected to the Team Settings page
- Navigate to the Members tab
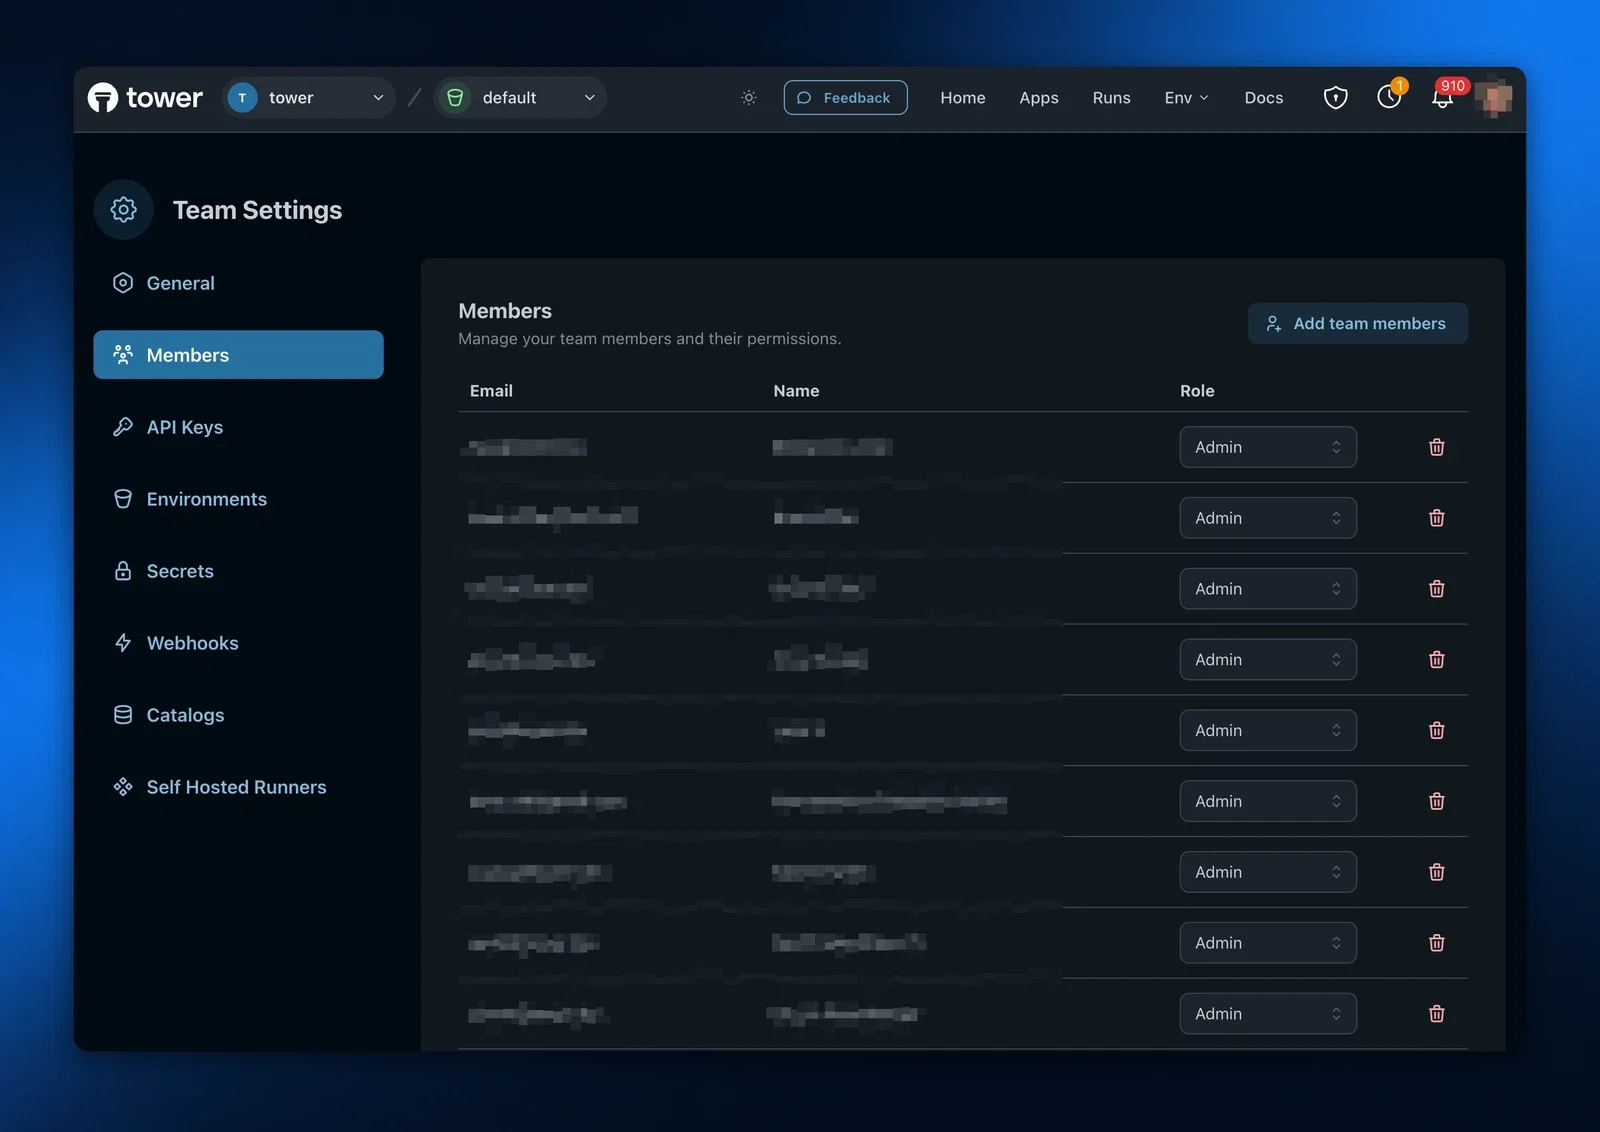
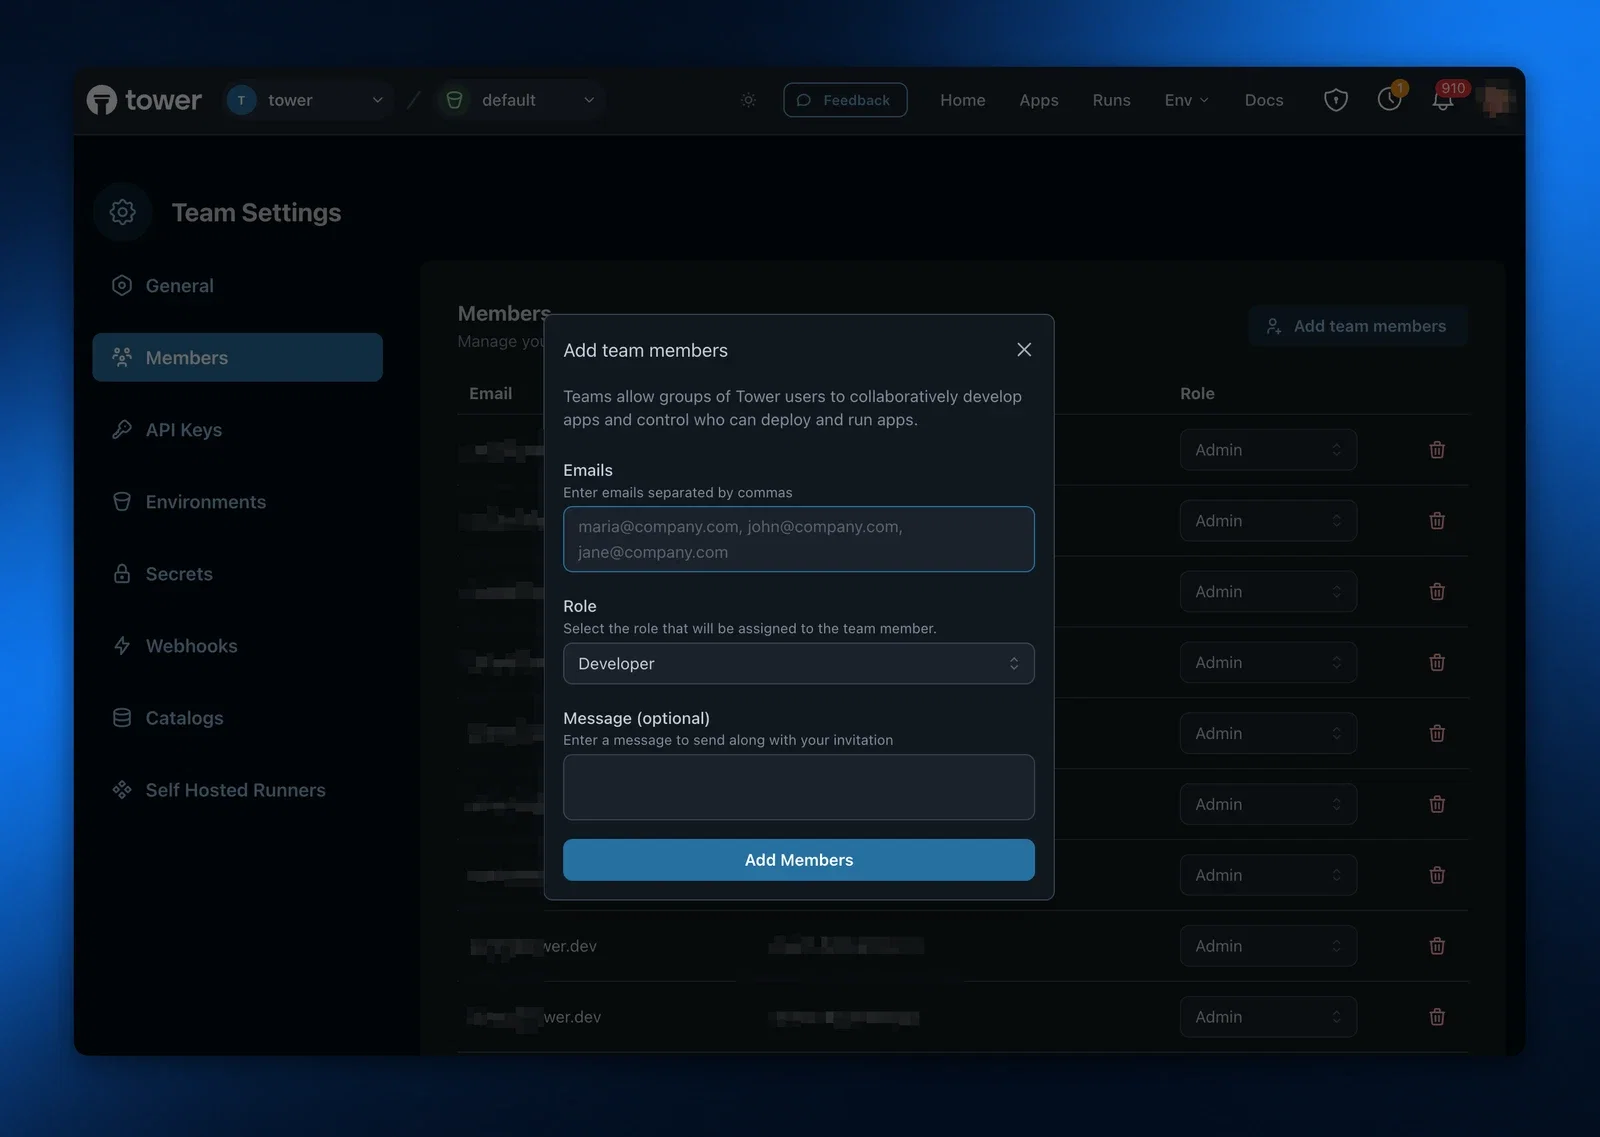
On the Members page, you can:
- Invite others by entering their email addresses
- Remove existing team members
- Resend invitations to pending members
- Revoke unaccepted invitations
Working with team context
In Tower, you always work in the context of either a team or your personal account. This context determines:
- Which apps you can access and deploy
- Which secrets are available to your apps
- Which resources you're using
Note: In both the Tower CLI and UI, you'll always work in the context of one team or your personal account.
In the Tower CLI you can switch to the correct team context by using the tower teams switch command:
tower teams switch team-1
If you need to switch to your personal account, find its slug by using the tower teams list command.
In the Tower UI, you can do the same by using the team selector near the Tower logo in the main navigation bar.
Deploying apps
Use the Tower CLI to deploy apps to Tower. When working with teams, you deploy apps to the team's account rather than your personal account:
- First, verify that the right team is active by using the
tower teams listcommand.
tower teams list
   Slug            Team Name
-----------------------------------------
*  team-1          Team 1
   team-2          Team 2
   account-123     First Last

* indicates currently active team
- Then, deploy your app using the standard
tower deploycommand:
tower deploy
App 'hello-world' does not exist. Would you like to create it? (y/N): y
Success! Created app 'hello-world'
✔ Building package... Done!
  Deploying to Tower... [00:00:00] [████████████████████████████████████████] 6.50 KiB/6.50 KiB (0s)
Success! Version `v1` of your code has been deployed to Tower!
Managing team secrets
Just like with apps in your personal account, you will need to define secrets for team apps:
tower secrets create --name=snowflake_url \
   --value=https://abc123.snowflake.com
Running apps
Team members can initiate ad-hoc or scheduled runs of apps in the team account using:
- The
tower runcommand in the Tower CLI - Schedules defined in an app's Towerfile
- The Run button in the Tower UI
Always ensure you're in the correct team context before running or deploying apps.
Note: Runs of apps in team accounts will get the secrets of the team, not of the user who deployed it or ran it.
Managing app code in repositories
When you work on personal apps, keeping your app code in source control repos is optional but helpful. When you start developing apps collaboratively in a team setting, source control is highly recommended.
You should consider defining a repo or a folder in a repo as the container of your apps’ code.